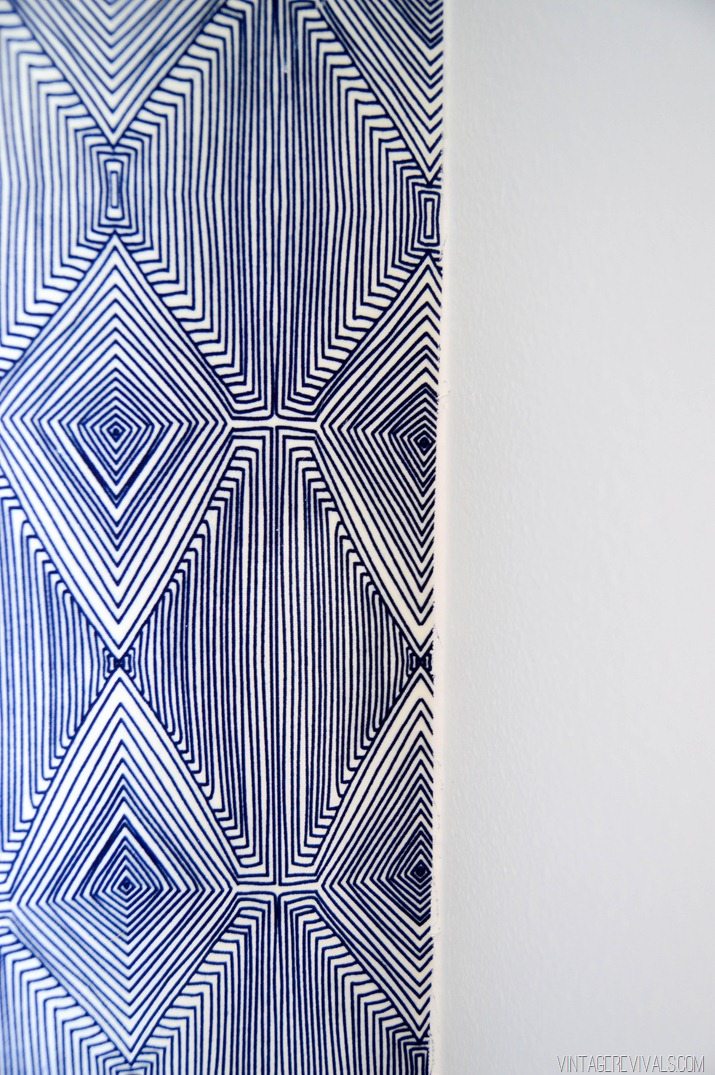
You guys!! I have been wanting to post this tutorial for.ev.er. When I was working on Cara’s Office a year ago we did this to one of the walls and while the technique was awesome, the fabric choice made it look like Angela Lansbury’s summer cottage. It was bad.
I finally recreated the project In Ashy’s Room (but did it differently so that I can offer opinion on the 2 most popular options!).

Sticking fabric to the wall is nothing new. It is perfect for those that rent (like Cara did) or for those that like to change things often (like me). There are 3 main techniques for sticking fabric to the walls in your home. 1. Staples (like YHL did here) While I am sure this works out great, its not one of the things I am going to be talking about today. When I say sticking to the wall I mean, it looks like actual wallpaper sticking.
A quick Google search brings up 2 options 1. Corn Starch and 2. Fabric Starch. In Cara’s office we used Corn Starch, and in Ashy’s room we used fabric starch. Here is how you do both:

Bring about 4 cups of water to a boil, mix 1/2-3/4 c of Corn Starch in a bowl with a small amount of room temperature water. Take the boiling water off of the heat and add corn starch mixture slowly, stirring the entire time.

While the mixture is cooling use pushpins to attach the fabric to the top of the wall by the ceiling.
When the mixture has cooled use a paint brush or a small roller to apply it to the wall, then smooth your fabric down over the top of it.
If you have big globs, they will discolor the front of your fabric by making it a little lighter and chalky when it dries. So a nice even coat is what you want.
And here is the best part! Because we didn’t keep the fabric, I can tell you all about removal too! Taking the fabric off was relatively simple. There was a good amount of washing to get the corn starch off of the walls before we could repaint, but it wasn’t horrible!

Fabric Starch is the method that we used in Ashy’s Room. I found this awesome Nate Berkus fabric at Joann’s (its new, seriously go and check it out. That Nate hits it out of the park every time!)
We started by pinning the fabric to the top of the wall. We poured fabric starch (you can get a gallon at Walmart for $3.00) into a paint tray and used a roller to apply some onto the wall.

Then we smoothed the fabric down. The biggest difference between the two methods is at this point. Next, you use your roller and roll over the top of your fabric, saturating it with the starch.


So while both techniques work well, if I had to choose one I think I would go with the fabric starch. It is easier to work with and has less prep. Also your room smells like laundry when you are done, so that is nice. We obviously still need to finish it off, but I thought you would love to see what we have been working on!
Have you tried either of these methods? We all would love to glean wisdom from your experience!!
