Hello! We’ve got another Fearless DIY episode up on The Design Network for you today and it’s all about the accent pillows! Frayed and Fringed accent pillows to be precise. With leather, because its me.
Here is a little teaser for you!
FearlessDIY_PillowFestClips from Mandi Gubler on Vimeo.
The first pillow is one of my all time favorites!
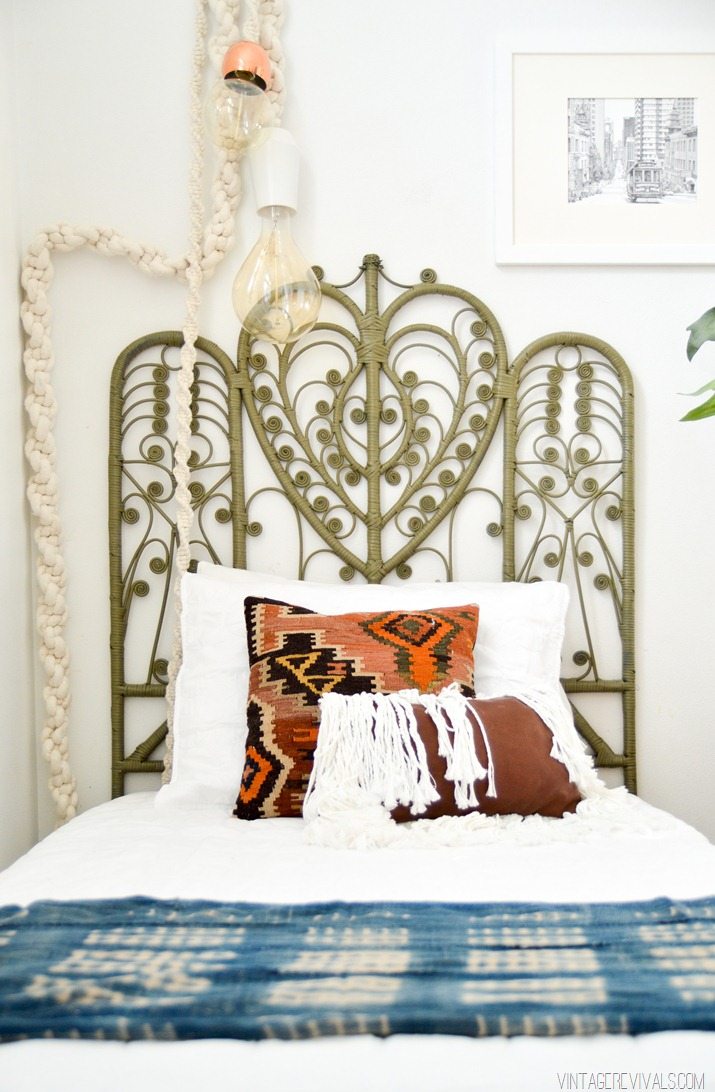
Can you believe that I still have leather kicking around from when I skinned that couch?! Its going to be a sad sad day when its all gone.
If you’re a fresh faced pillow makin’ newb you might want to get started with these step by step tutorials for making an envelope pillow and making a zipper pillow, cause in this tutorial I’m going to skim over that and get more into the things that make these guys uber special.
To make this pillow you’re going to need:
2 pieces of leather that are the same size. (Mine measure 8×15)
1 spool of cotton rope (mine came from Joann, get it in the upholstery section)
Batting
Start by cutting your leather to size, once that is done its time to sew the rope on. Make sure that you watch the episode to learn from my massive mistake while doing this!
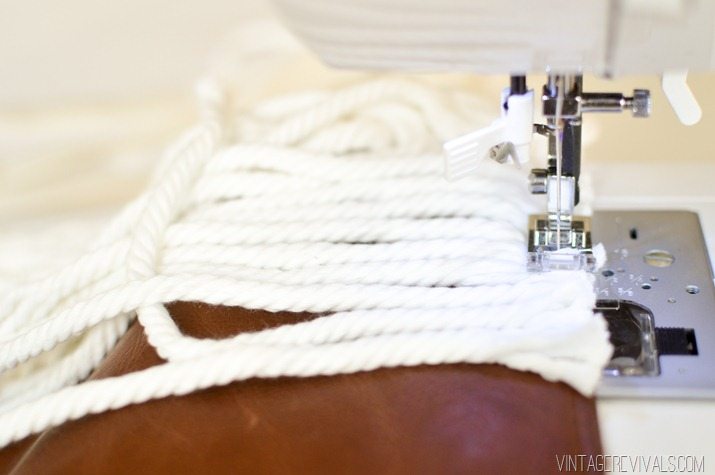
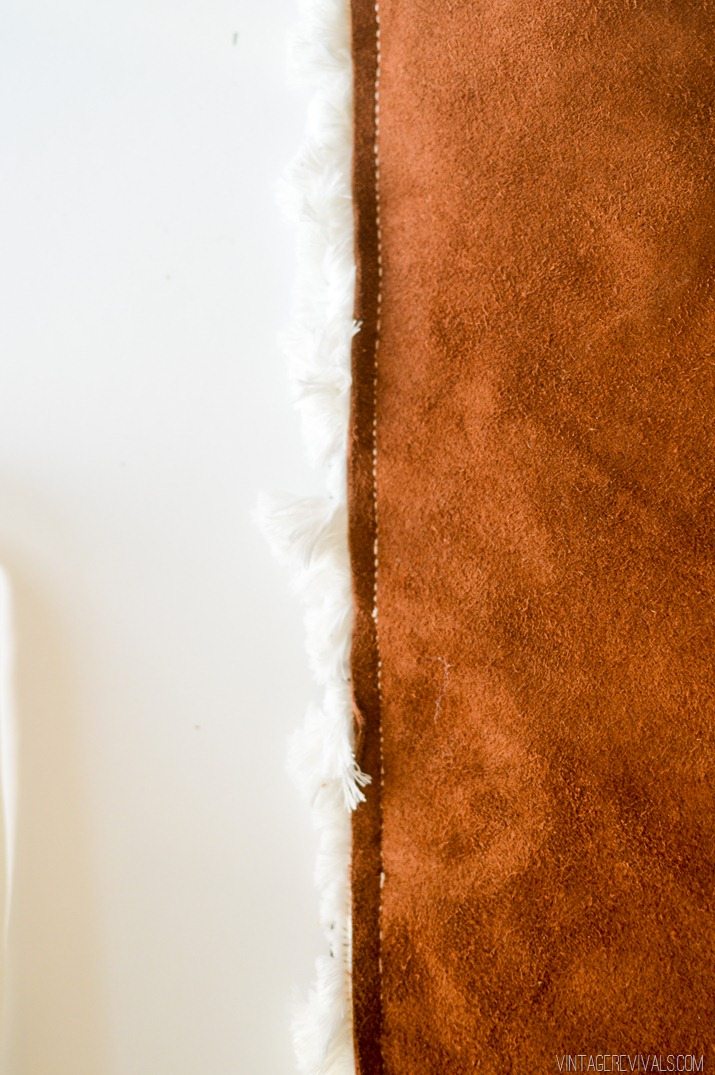
While you are sewing, double check that your leather is right side up! It will look like this when you’re done.
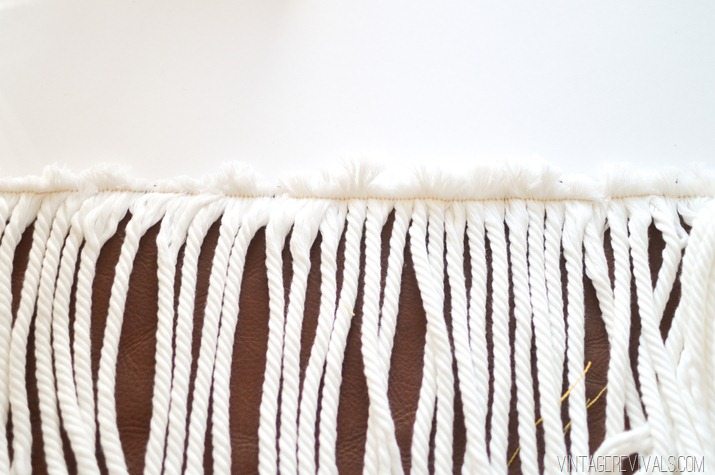
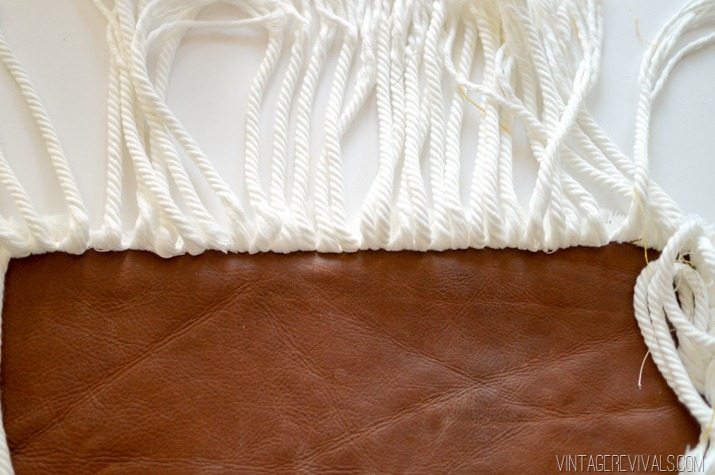
After you’ve sewn the rope on all 4 sides its time to attach your back piece.
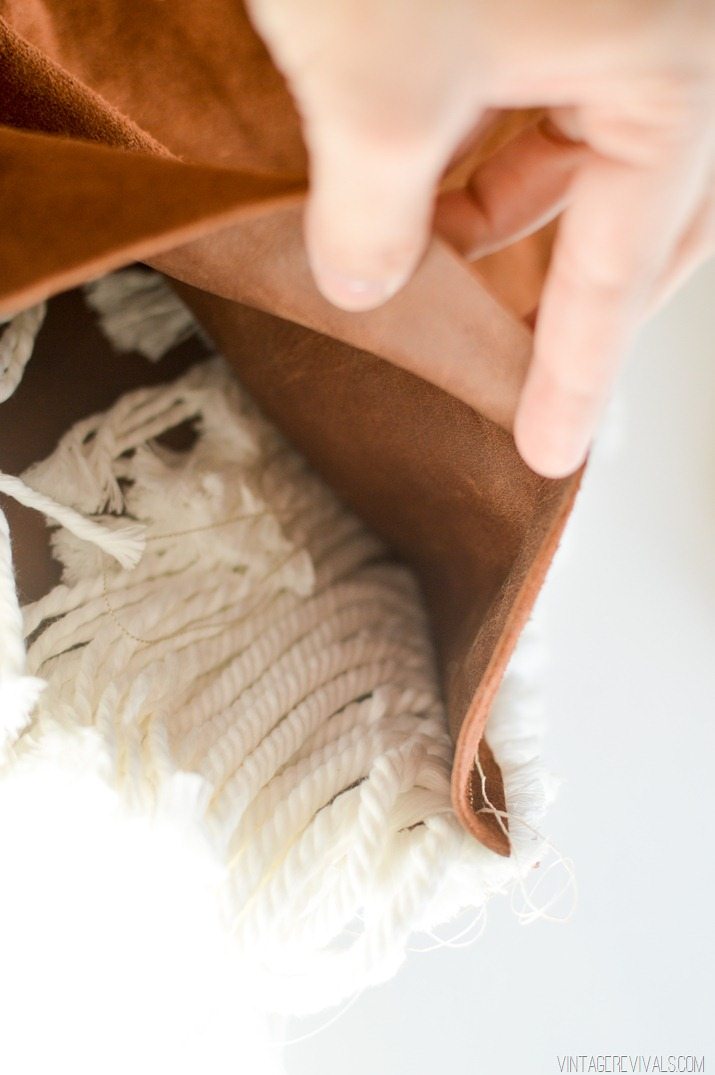
It’s going to be a little awkward because all of the rope is inside the pillow, until you flip it right side out. Then you can see it for all of it’s shaggy gloriousness.
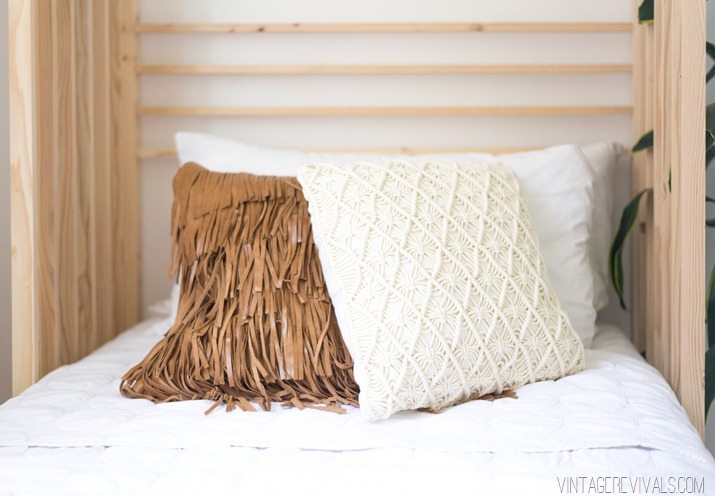
Next we’re going to make a leather fringe pillow.
Start by cutting 5 pieces that are 6 inches tall and the width of your pillow. Mine measure 6×19.

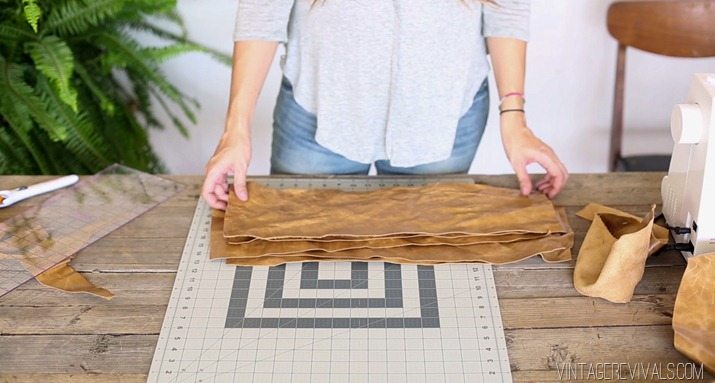
For fringe cutting you are most definitely going to want to use a fabric ruler and rotary cutter.
Stack 2 pieces of leather on your cutting mat (make sure that they are lined up with the lines on the mat) and use a piece of painters tape to secure it. That part is suuuuper important.

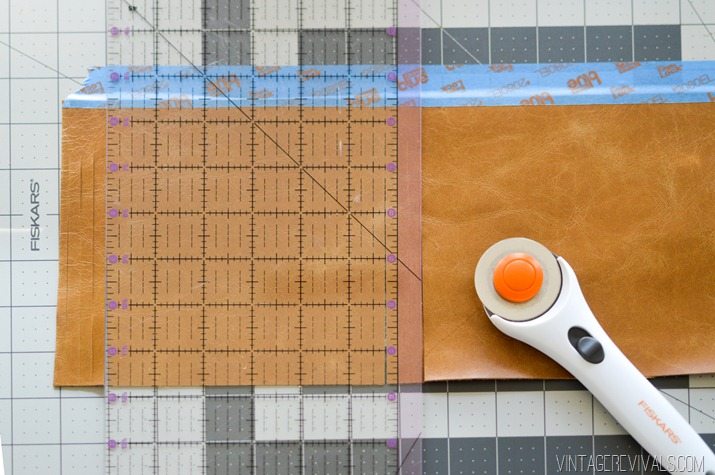
You are going to cut strips every 1/4” all along the piece of leather. To make this go a little bit faster (but lets be honest, its not the fastest project ever) cut on both sides of your ruler.

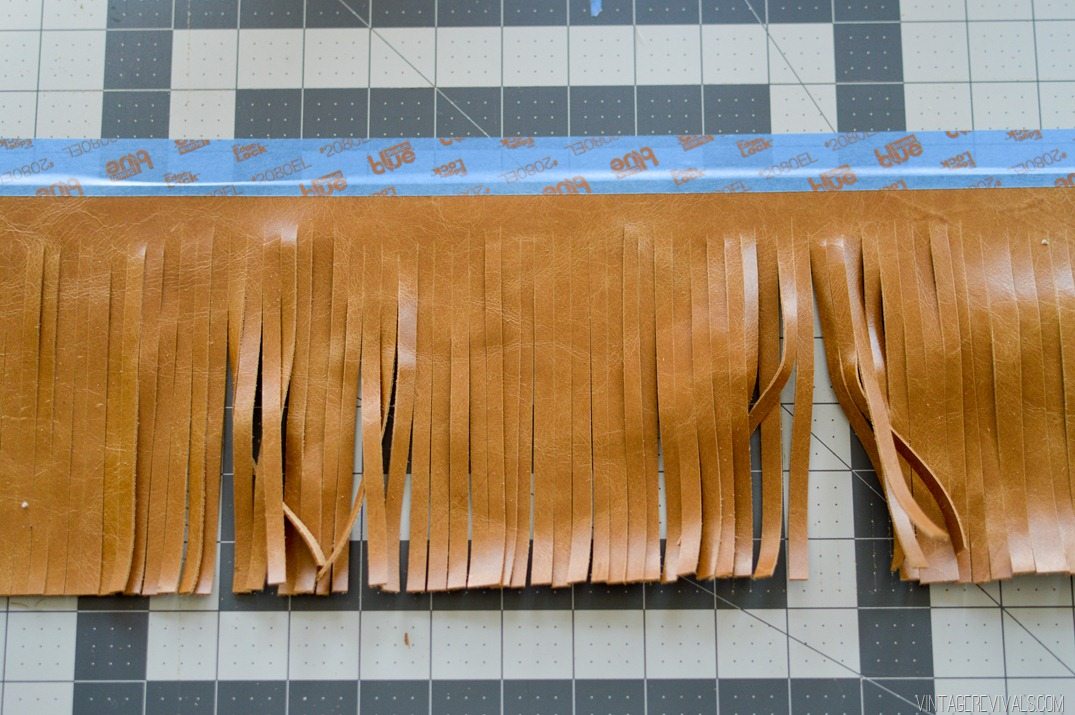
Fringy! The last step is to sew them on the pillow base. Space them evenly and go to town!
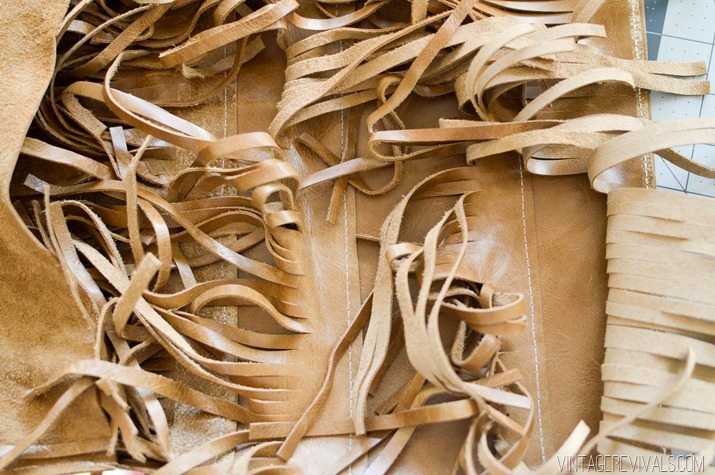
The last pillow is the easiest one of all!
The idea is really similar to this ripple art. Start with your first shape, and then enlarge it, and then enlarge it again!

To get the fringe-fest happening here, just sew the pieces on top of each other and leave 1/2” seam allowance.
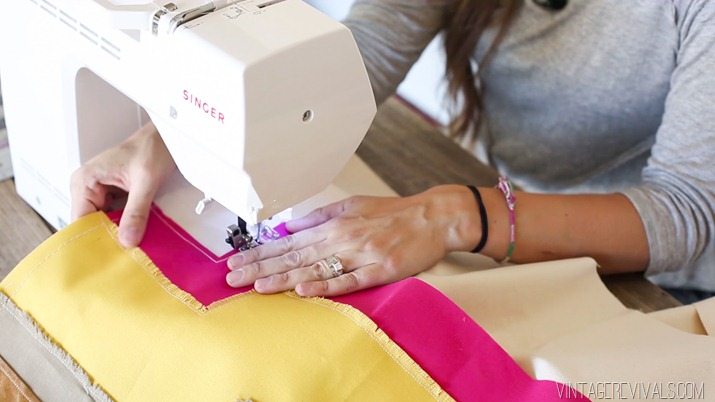
Use a seam ripper to fray the ends and you are done!
Make sure to check out the video tutorial on The Design Network here!


The post Pillow-fest! 3 Pillow Tutorials to Boost Your Design Game appeared first on Vintage Revivals.